What is a Crypto wallet
A Crypto wallet is a digital space where you can securely store your Cryptocurrency. There are many different types of wallets, but the most popular ones are non-custodial wallets, hosted wallets, and hardware wallets.
Which one is right for you depends on what you plan on doing with your Crypto. Most wallets allow you to both send and receive Cryptocurrency.
You’re free to use whichever wallet service you’d prefer, but MetaMask is the most popular Crypto wallet service out there, with millions of active users each month. We’re dedicating this walk-through to MetaMask, since it operates with just about every Ethereum-based platform.
How to set up a Crypto Wallet with MetaMask (with pics)
Complete these easy steps to set up a MetaMask hot wallet. A “hot” wallet just means that your Crypto wallet is always connected to the internet and to the Cryptocurrency network. It also comes with public and private keys as a security measure, but we’ll explain those down below.
Setting up your Crypto Wallet.
Start by downloading the MetaMask wallet software onto your device from MetaMask’s official site. It’s totally safe, as it’s downloaded millions of times a month. If you’re confused by the .io domain extension; that’s a newer domain extension widely used among tech companies.
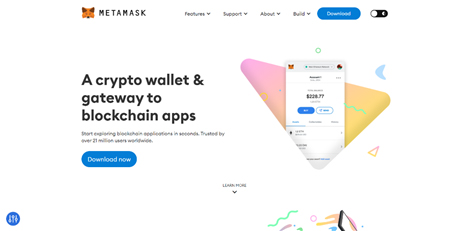
On MetaMask’s website, click download now, and you’ll choose your Crypto-accessible device. MetaMask allows users to run their Crypto wallets in browsers (Chrome, Edge, Firefox, Brave), on Android mobile devices, and iPhones (IOS).
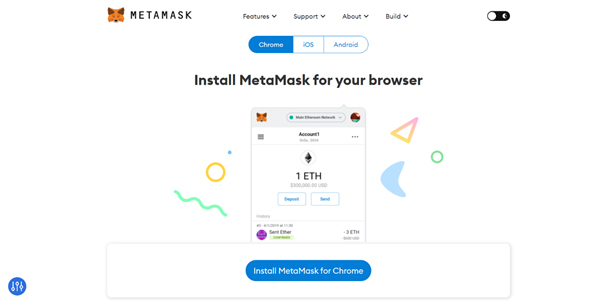
With MetaMask either installed in your browser or as a Smartphone application, you’re ready to get started! This is what your screen should look like if you’re working in Chrome, for example:
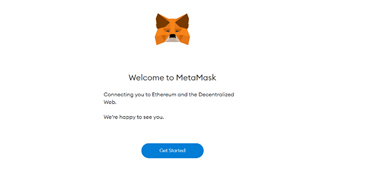
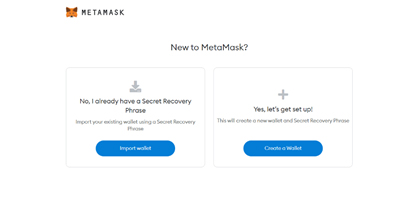
Once you hit Get Started, it’s time to establish your wallet with MetaMask:
- Import wallet – Do this only if you already have an existing Crypto wallet.
- Create wallet – Choose this if you’re starting your first Crypto wallet.
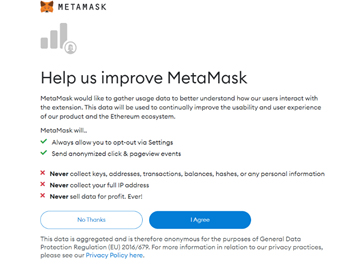
Then, you may be hit with the following user data opt-in. You can hit “no thanks” or “I agree”—the choice is immaterial to your Crypto wallet.
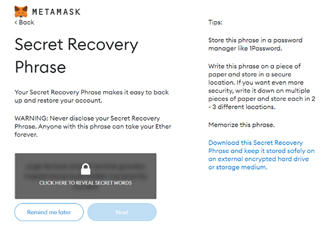
Next, you’ll have to create your Secret Recovery Phrase. These are twelve randomly generated words that act as a password to your wallet. This is your wallet’s final security measure—so be completely sure to write your Secret Recovery Phrase down and store it in a safe place. Users should NOT share their Secret Recovery Phrases with anyone.
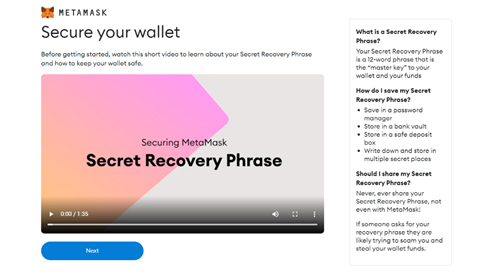
Moonclub suggests you keep your Secret Recovery Phrase on a piece of paper, and NOT stored in any digital locations, because that could be accessed by any Crypto hackers looking to take control of your wallet.
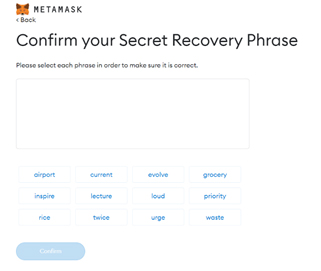
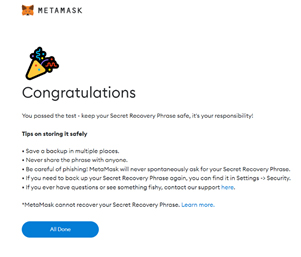
MetaMask will then have you confirm your Secret Recovery Phrase as a test. Keep your piece of paper handy until you’ve validate your wallet with MetaMask—then store that paper in an extra safe place!
Once security has been established, your MetaMask wallet is officially live! Congratulations—you now have access to the blockchain!
How To Use Your MetaMask Wallet
Your Public Address
By clicking on the “Account 1” button at the top-center of the MetaMask dashboard, your public address will instantly by copied to clipboard. Use your MetaMask public address with other decentralized platforms or individuals to send or receive Cryptocurrencies into your wallet. A Public Address is not necessarily unsafe to send to anyone with whom you plan to initiate an exchange.
Filling your wallet
From your account dashboard, you should work on getting Ether into your wallet. Click “buy” and choose to purchase ETH using Transak, MoonPay, or Wyre. If you happen to already have ETH in your possession, perhaps in a different wallet, you can move it to your new MetaMask wallet with the “Directly Deposit ETH” option.
How to Use Your Wallet to Launch a Coin
Now that you have a Crypto wallet with a usable amount of Ether in it, you’re ready to build your personalized Coin with Moonclub!
Create your own coin using moonclub
Moonclub is a revolutionary new platform that uses proprietary technology to help you build, launch, and market your own coin in minutes.
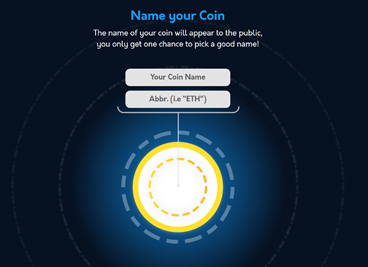
STEP ONE: Name your coin
Give your coin a name and abbreviation. We recommend a short, simple named ending in “coin”—but in a decentralized economy, the choice is yours.
STEP TWO: Upload a photo
Then, choose a logo for your coin. You want to choose something visually appealing that conveys what your coin is all about.
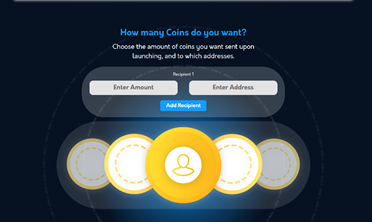
STEP THREE: Choose Circulation
The amount of coins in circulation is the total amount of coins available to traders. For reference, Bitcoin has a limit of 21M coins in circulation. Moonclub recommends designating a limit of anywhere between 10M and 1B coins.
STEP FOUR: Select a Network
There are several different networks, each with its own rules and systems. All networks, however, exist on the blockchain for peer-to-peer exchange.
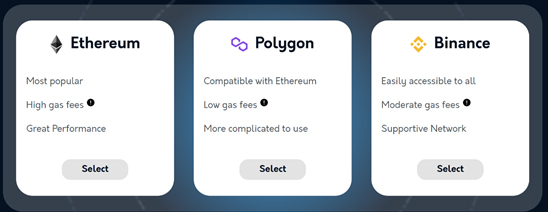
At this step, consider the use of your coin. Are you interested in a hyper-accessible, low-cost asset—or a more stable, higher-performance coin?
STEP FIVE: Initial coin distribution
Here’s where the strategy comes in.
Send the first of your coins to multiple recipients of your choice. We recommend sending a small amount (between 6%-12%) of your coin’s total circulation to make your crypto more attractive to buyers.
STEP SIX: Connect your wallet
Finish the six-step process by connecting your crypto wallet to moonclub. Make sure your connected wallet operates off the same network as your new coin. Pay moonclub’s one-time fee through your wallet and officially launch your new coin!
